
WARDOGS Helicopter Flight School: Controls, Settings and Hot Drops
Master helicopter flight in WARDOGS: keybindings, disabling flight assists, flying nap-of-the-earth, anti-air flare timing and executing squad Hot Drops.
What makes helicopter piloting high-risk, high-reward in WARDOGS?
Helicopters provide the fastest mobility across WARDOGS’ 256 km² battlefields, but novice pilots risk losing up to $18,000 on a single crashed airframe. With 100 players constantly watching the skyline for troop transports, airborne insertions can swing objective momentum in seconds or hand the enemy easy multi-kills.
This video is playing in the corner.

Before deploying an expensive airframe like the Havoc or AH-6R [Rockets], pilots must master the flight physics model, tailor their control scheme, and practice emergency survival procedures.
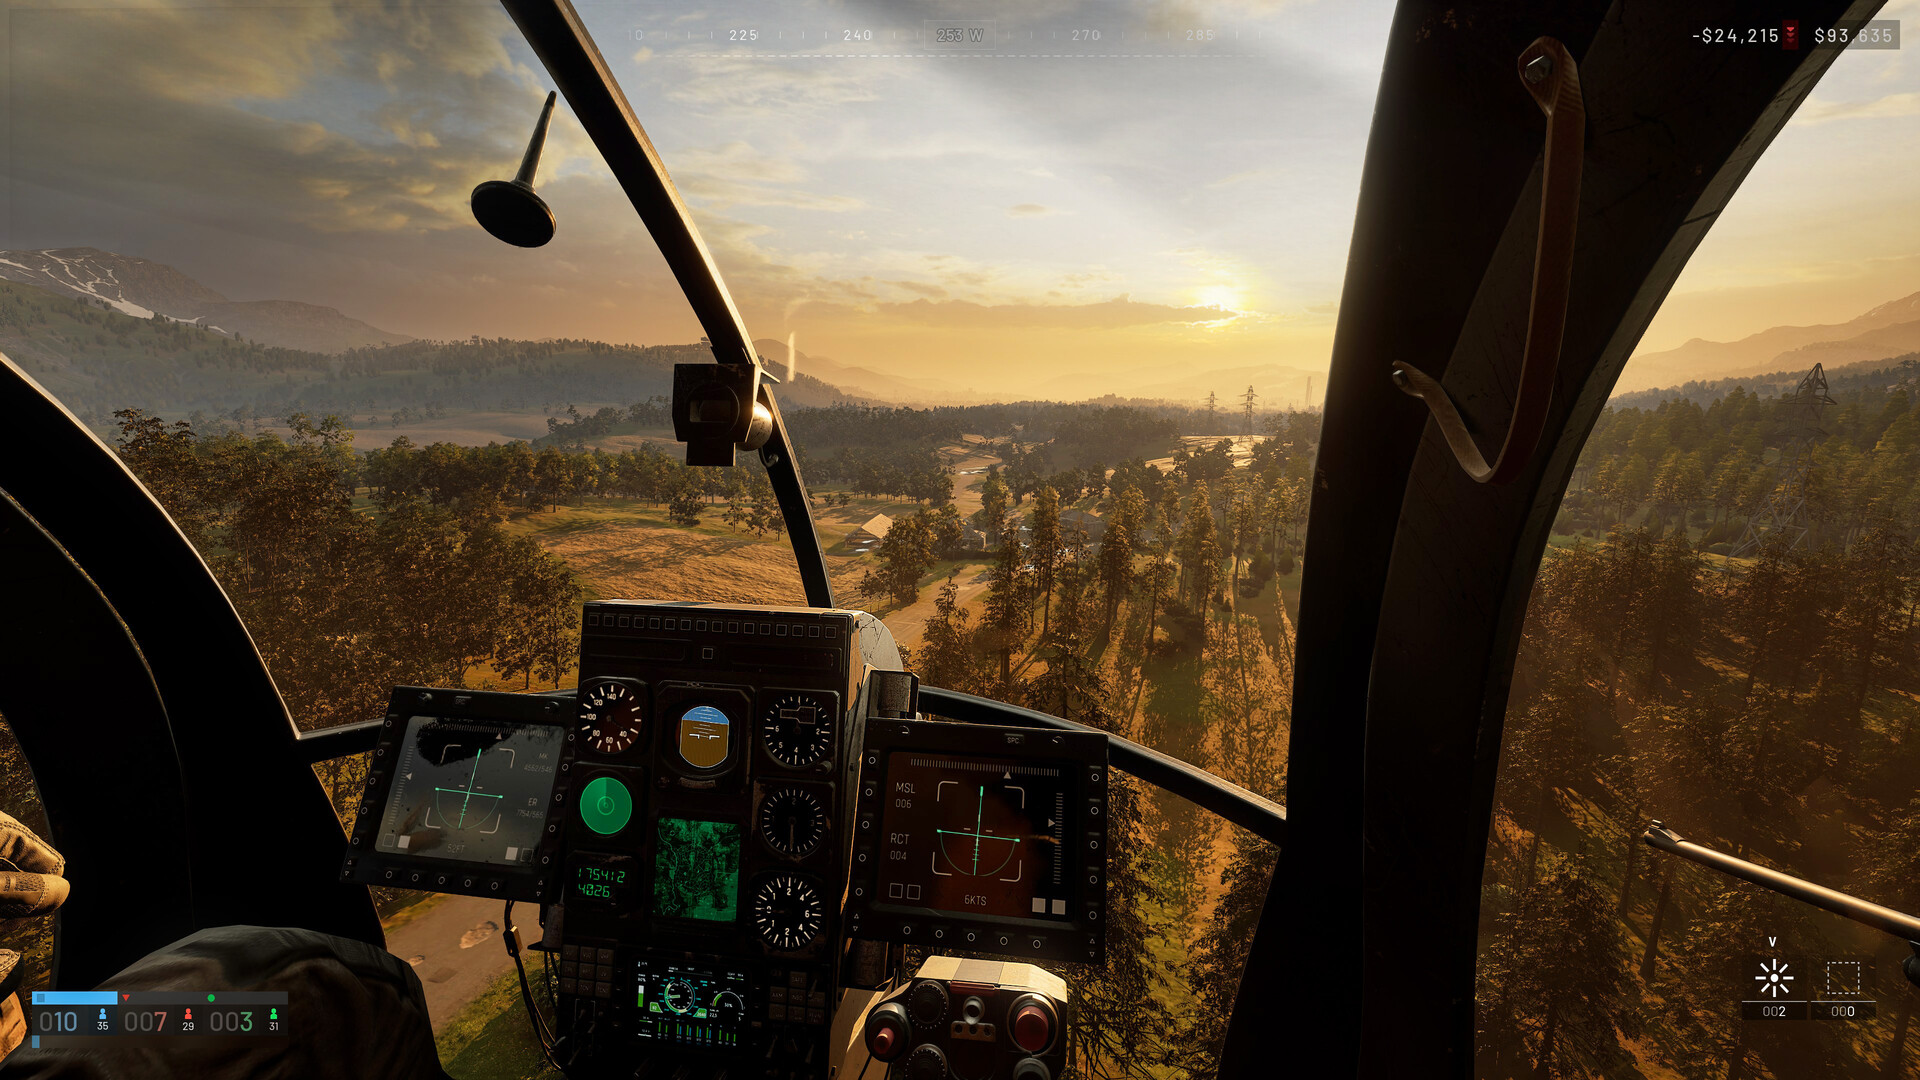
Which flight settings and keybindings should you change first?
The default flight settings prioritize stability over agility, which makes evasive maneuvers nearly impossible during combat.
| Flight Axis / Command | Recommended Primary Input | Alternate / Secondary Input | Tactical Function |
|---|---|---|---|
| Throttle Up / Collective | W Key | Numpad 8 | Increases rotor pitch for rapid climb |
| Throttle Down / Collective | S Key | Numpad 2 | Lowers rotor pitch for steep combat descents |
| Yaw Left (Pedals) | A Key | Numpad 4 | Tail rotor counter-clockwise turn |
| Yaw Right (Pedals) | D Key | Numpad 6 | Tail rotor clockwise turn |
| Pitch Forward / Nose Down | Mouse Y-Axis (Down) | Up Arrow | Pushes nose down for forward airspeed |
| Pitch Back / Nose Up | Mouse Y-Axis (Up) | Down Arrow | Pulls nose up to scrub airspeed (flaring) |
| Roll Left / Bank Left | Mouse X-Axis (Left) | Q Key | Banks aircraft left into tactical turns |
| Roll Right / Bank Right | Mouse X-Axis (Right) | E Key | Banks aircraft right into tactical turns |
| Countermeasure Flares | X Key | Mouse Thumb Button 2 | Spoofs infrared MANPADS and vehicle missiles |
| Free Look Toggle | Left Alt | Middle Mouse Button | Allows 360° cockpit scanning while holding pitch |
The Firing Range Practice Protocol
Never test unfamiliar flight binds in a live 100-player lobby. Access the Firing Range from the bottom-left corner of the main menu. All helicopters spawn for $0, and crashing carries zero financial penalty to your account wallet.
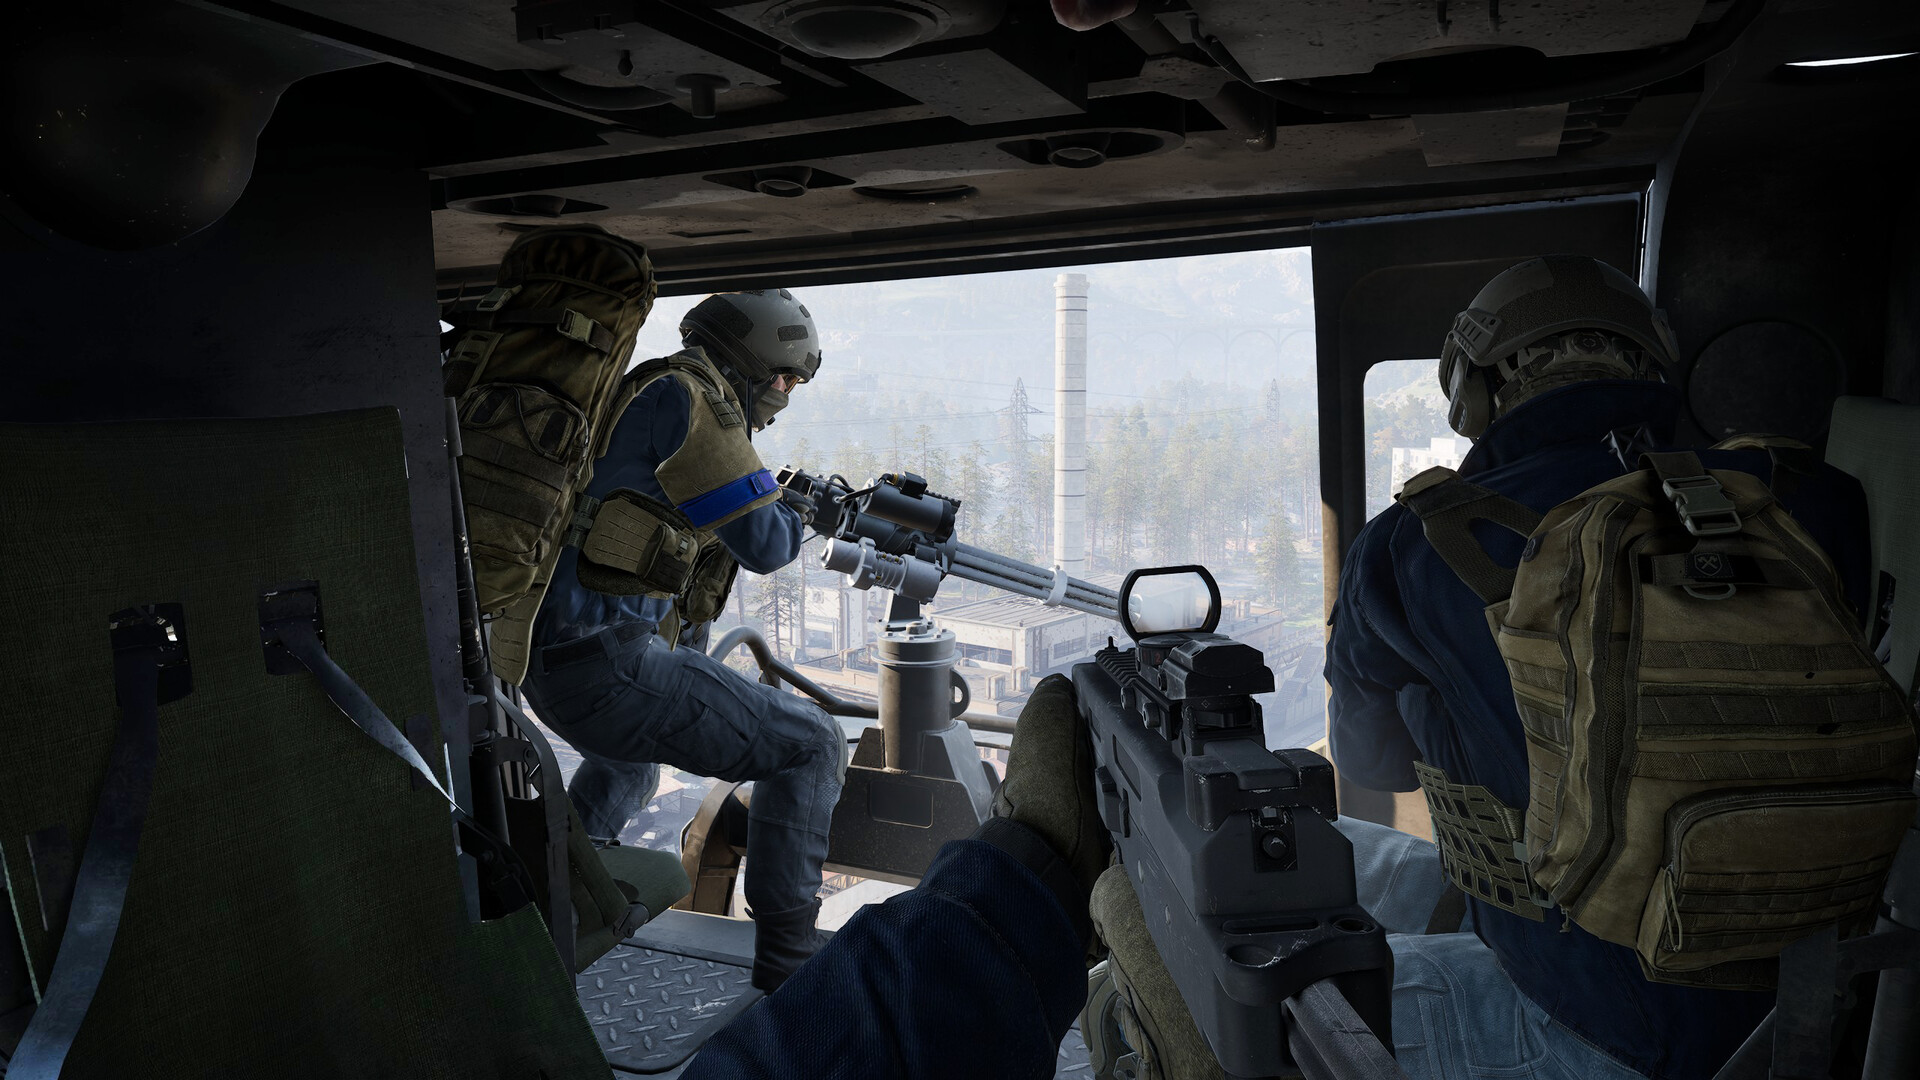
How do you execute a high-speed Hot Drop insertion?
A “Hot Drop” is an aggressive troop delivery where the helicopter touches down or hovers below 3 meters for fewer than 4 seconds before exiting.
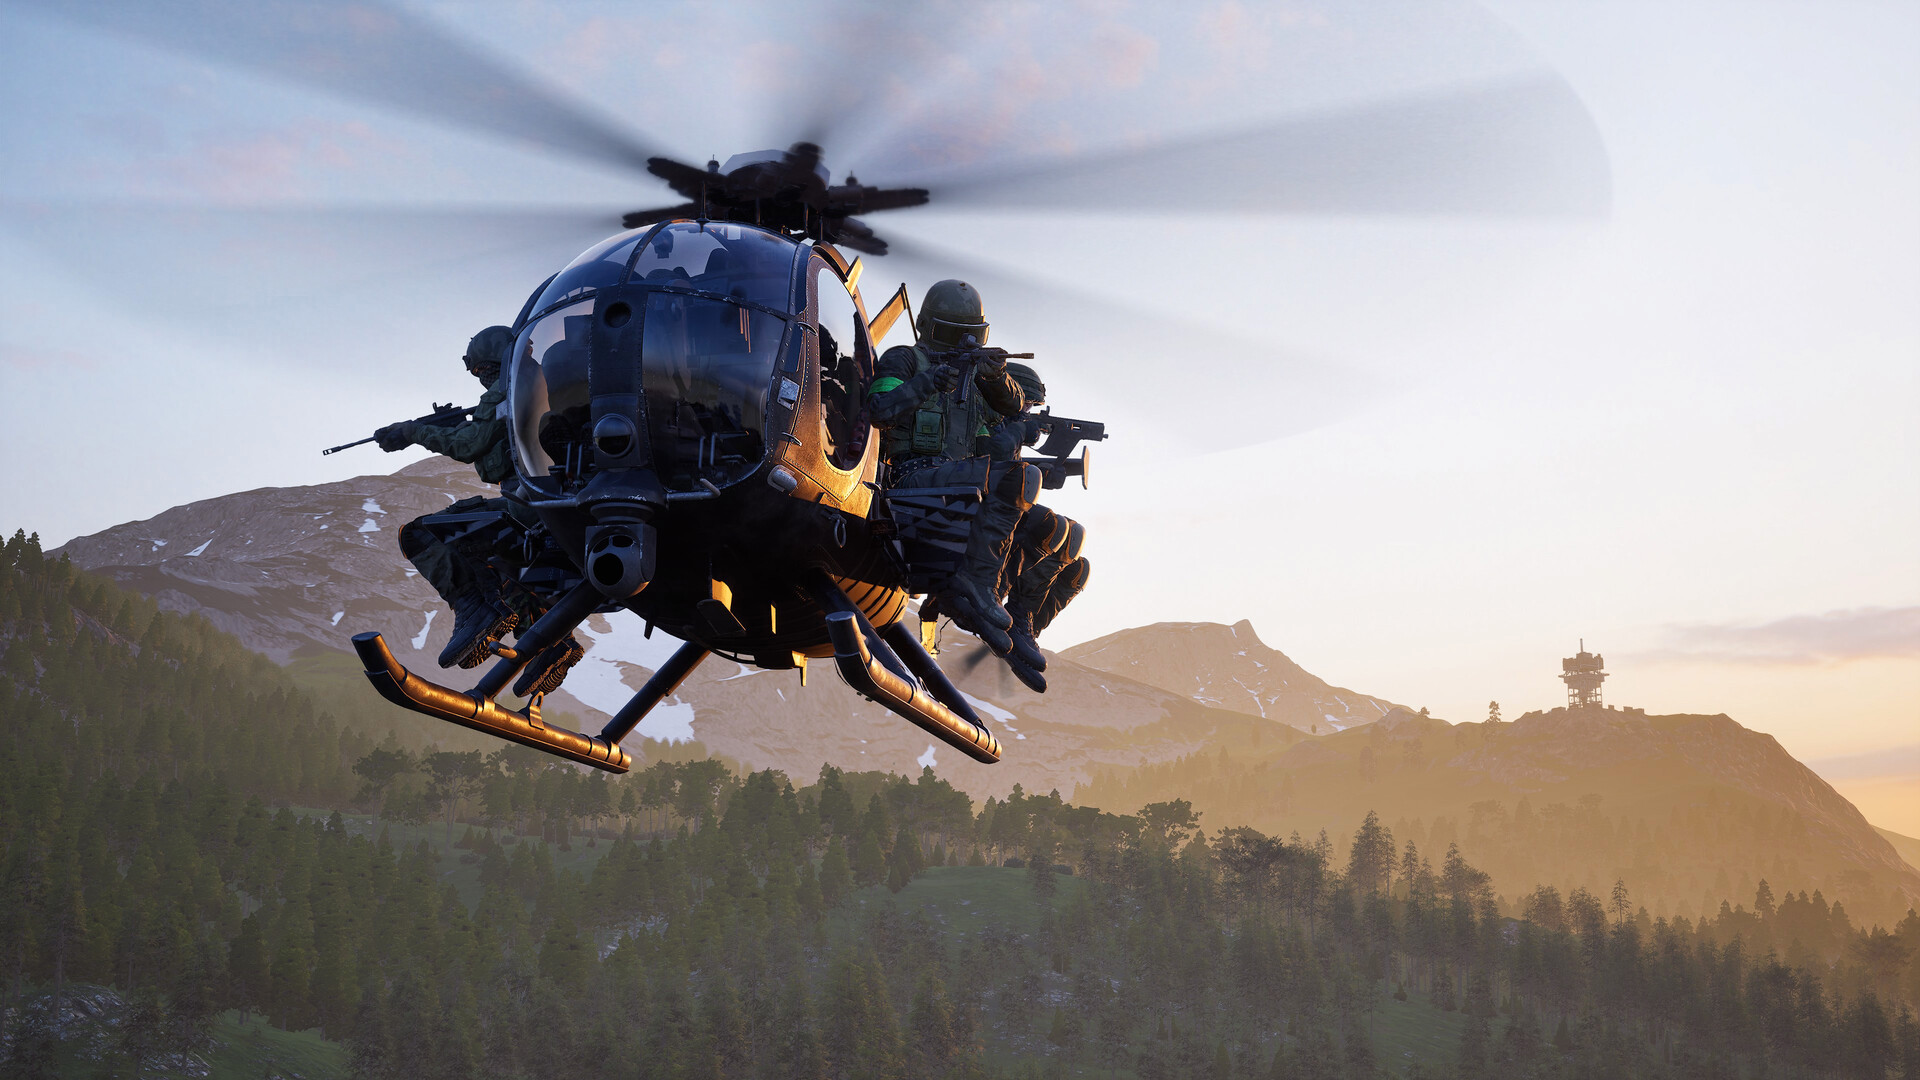
Step 1: Nap-of-the-Earth (NOE) Approach
Approach the Control Zone at altitudes below 15 meters Above Ground Level (AGL). Use valley contours, riverbeds, and forest treelines to shield the aircraft from high-ground snipers and radar detection.
Step 2: The “J-Hook” Flare Deceleration
Rather than stopping in mid-air and slowly descending—which turns your helicopter into an easy RPG target—execute a J-Hook:
- At 120 meters out from your LZ, bank hard 60 degrees into a sharp turn.
- Pull nose up to 45 degrees while simultaneously bottoming out collective throttle (S key).
- The centrifugal force and aerodynamic drag bleed 180 km/h of speed to zero in under 2 seconds, dropping you precisely into the landing pocket.
Step 3: Low-Altitude Hover Gate
Drop to 2 meters off the ground behind solid structural cover (such as the outer concrete walls of the Ozeti Stadium or industrial hangars in Bakurani). Do not land on open pavement or rooftops exposed to anti-materiel rifles.
Step 4: Rapid Dismount and Banked Egress
Signal your passengers over voice comms: “Drop, drop, drop!” The moment passenger icons disappear from your HUD, push the nose down 35 degrees, apply full collective power (W key), and bank hard away from enemy spawn corridors.
How do you defeat anti-air missiles and armored flak?
Surviving anti-air requires combining electronic countermeasures with aggressive terrain masking.
| Threat Type | Primary Detection Clue | Countermeasure Protocol |
|---|---|---|
| Infantry MANPADS | High-pitched continuous lock tone | Deploy 1 salvo of flares (X key), drop collective, dive behind nearest ridge |
| Gepard 35mm Flak | High-cadence tracer stream, hull pinging | Break line-of-sight immediately; never fly directly over armored vehicle lanes |
| Small Arms Suppression | Windshield cracking, passenger damage | Increase forward speed above 140 km/h; small arms lead calculations fail at speed |
| Stationary AA Guns | Heavy explosive flak bursts in sky | Mark position on map for allied artillery, pull back to friendly airspace |
Never deploy flares preemptively before an actual missile launch. Flares have an 18-second reload cooldown; popping them early leaves your airframe completely defenseless against follow-up salvos. Always carry an emergency Sport Parachute ($650) to preserve your character’s life and gear if the tail rotor is clipped.
How can transport pilots earn consistent cash and tips?
Transporting squads into active capture zones is one of the most lucrative and respected careers in WARDOGS:
- Drop-Off Scoring: Delivering players who subsequently secure points in the Control Zone yields generous passive transport XP and ticket dividends.
- Teammate Commendations (Tips): Satisfied squad leaders frequently reward reliable pilots with $500 to $2,000 cash tips through the end-of-match screen.
- FOB Supply Drops: Flying supply crates to remote squad fortifications supports base defense and unlocks high-tier Pilot progression milestones. Review our FOB Building & Logistics Guide to coordinate with allied combat engineers.
FAQ
How do I turn off automatic hovering in WARDOGS helicopters?
What is the best way to practice helicopter flying without losing cash?
How do I evade anti-air missile lock-ons?
Related videos

Where are you headed next?
Related Intel
guides
How to Avoid Going Broke in WARDOGS: The SSS Scavenger Strategy
Master WARDOGS economy: survive the bankruptcy trap, manage starting cash, adopt the viral SSS scavenger looting meta and recover with $0 starter kits.
guides
WARDOGS Armor & Damage Guide: Plates, Helmets and Leg Meta
Master WARDOGS ballistic armor: Level 1–3 plate durability, helmet headshot protection, Armor Piercing (AP) ammo, and the high-TTK leg meta.
guides
WARDOGS FOB Building & Logistics: Supply Trucks and Fortifications
Master Forward Operating Base construction in WARDOGS: logistics supply truck routes, spawn beacon placement, hammer building tiers, and base defense.
Was this intel helpful?
Thanks for the feedback!