
WARDOGS Control Zone and Hot Zone: Scoring and Positioning
Learn WARDOGS Control Zone scoring, the 100-point win condition and Hot Zone double player weight, then choose positions that help your team hold the objective.
What is the Control Zone in WARDOGS?
It is the area where your team’s player presence earns victory points. Each match uses a randomized 2 × 2 km zone inside a larger battlefield. The team with the most players inside scores, and the first to 100 points wins.
This video is playing in the corner.
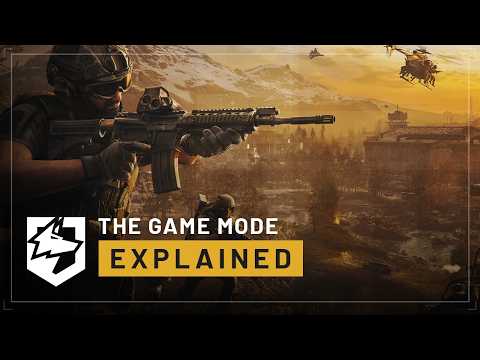
Kills can remove enemies from the objective, but a distant kill does not replace friendly presence. Choose a position by how it helps your team enter, remain inside or reinforce the boundary.
How does the Hot Zone affect scoring?
Players inside the Hot Zone count double toward zone control and receive double cash. The extra weight can make that area valuable even when your team has fewer physical players there.
| Area or event | What it changes |
|---|---|
| Control Zone presence | Adds your player to the team’s objective presence |
| Hot Zone presence | Counts that player with double weight |
| Rewarded Hot Zone action | Offers the announced double-cash opportunity |
| Reaching 100 points | Wins the match |
Double player weight does not automatically award two victory points per scoring event. Use the current objective feedback to see which team is ahead.
Should everyone rush the Hot Zone?
No. Move there when the route and team support make the extra presence useful. An isolated push that immediately dies removes its contribution. A covered approach and a way to reinforce can matter more than arriving first.
Coordinate movement instead of sending each player through the same exposed entrance. The mode guide explains the wider match flow.
This video is playing in the corner.

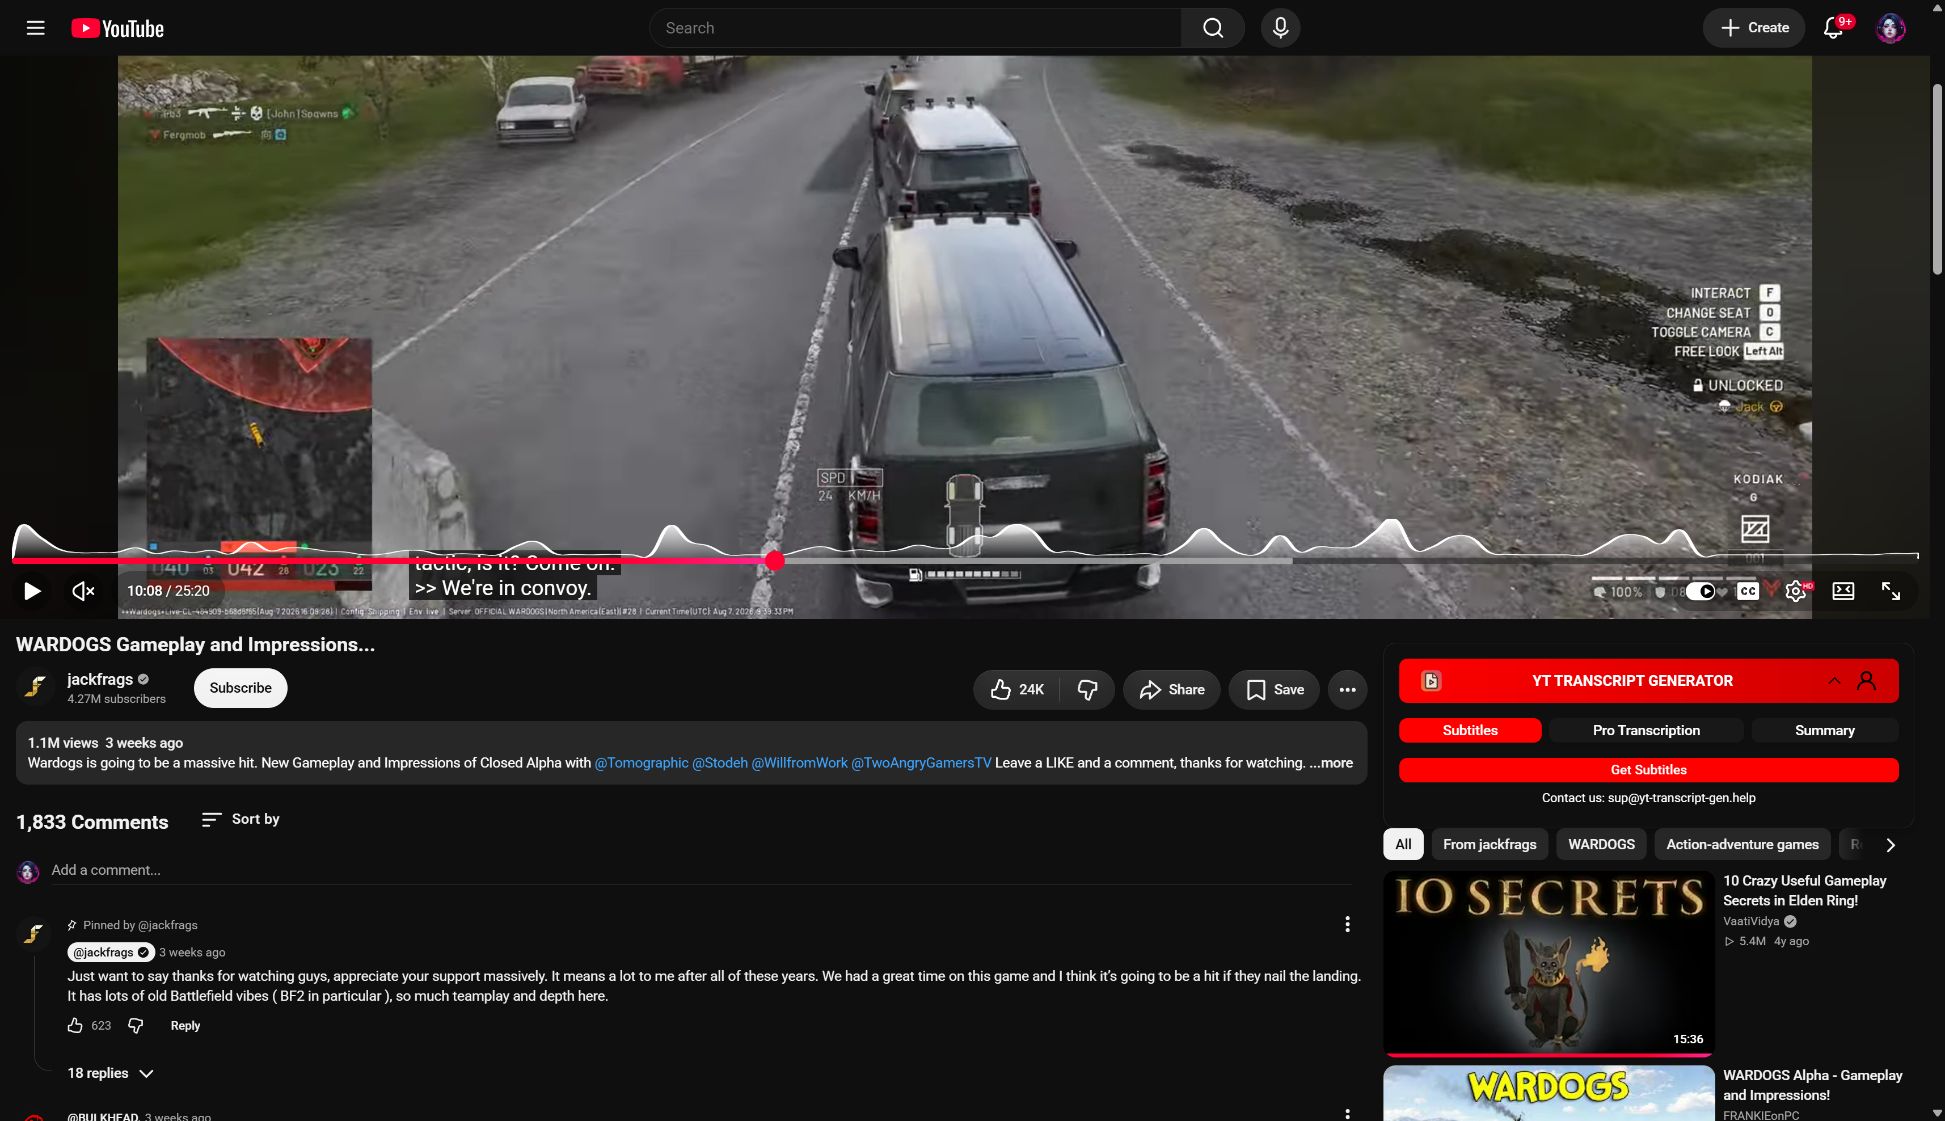
How do you hold a lead against two teams?
Protect presence and watch the approach your current fight leaves open. Chasing one opponent away from the zone can allow the third team to enter. Keep enough players contributing while others address threats.
If losing, identify a less-covered entry and arrive together. A supported push with transport and medical help can survive the first casualties better than repeated solo returns.
Where should a squad defend inside the zone?
Choose useful sightlines, cover and a route to teammates. Read nearby landmarks and cover relevant approaches. A rooftop outside may support the team, but too many players there leaves no one to score.
A FOB should support objective access. Recheck its value when the fight moves or destruction opens a new route.
Does objective play always earn more cash than kills?
No fixed ranking follows from the scoring rule. Team score and personal cash are separate. Objective actions can earn money, but equipment lost while performing them still costs cash.
Use the earning guide to compare useful jobs and the economy guide to decide whether repeated attempts are affordable.
Sources
Source: Latest game version.
Where are you headed next?
Related Intel
guides
How to Avoid Going Broke in WARDOGS: The SSS Scavenger Strategy
Master WARDOGS economy: survive the bankruptcy trap, manage starting cash, adopt the viral SSS scavenger looting meta and recover with $0 starter kits.
guides
WARDOGS Armor & Damage Guide: Plates, Helmets and Leg Meta
Master WARDOGS ballistic armor: Level 1–3 plate durability, helmet headshot protection, Armor Piercing (AP) ammo, and the high-TTK leg meta.
guides
WARDOGS FOB Building & Logistics: Supply Trucks and Fortifications
Master Forward Operating Base construction in WARDOGS: logistics supply truck routes, spawn beacon placement, hammer building tiers, and base defense.
Was this intel helpful?
Thanks for the feedback!